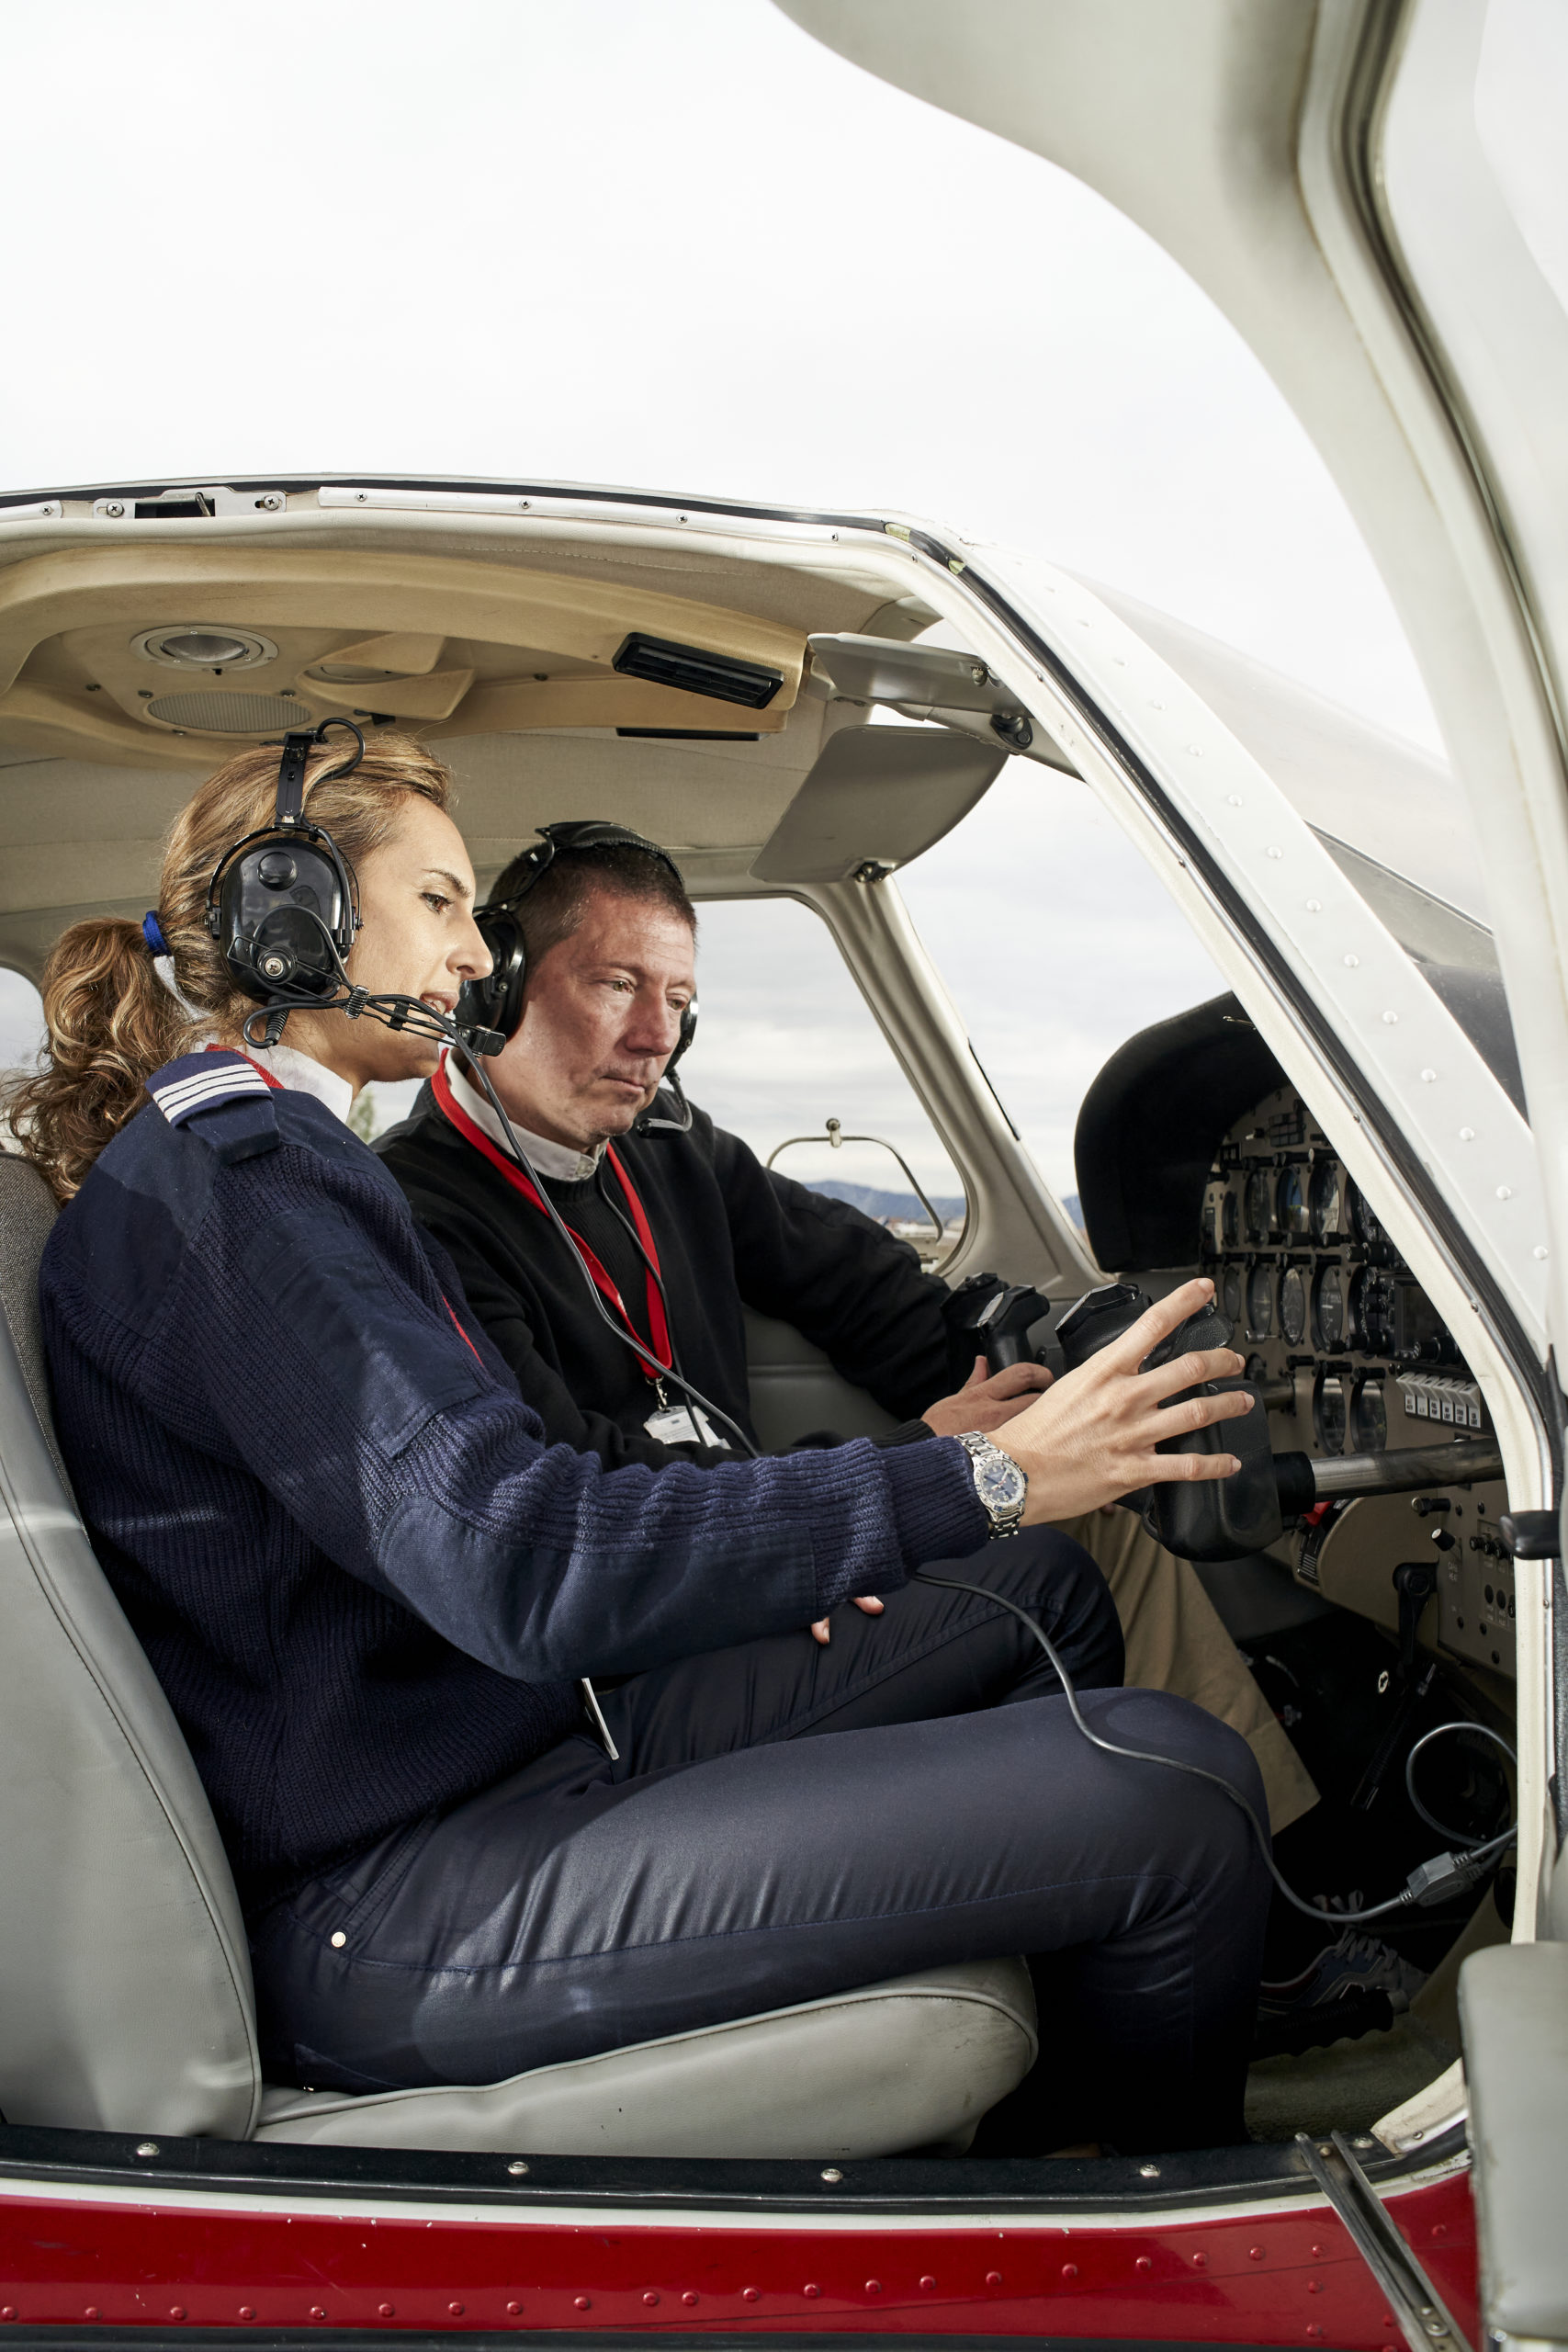
Cross-country flights are a major milestone in every pilot’s journey. Whether you're a student preparing for your first solo beyond the local airport or a private pilot planning a weekend getaway, cross-country flying demands a higher level of preparation and decision-making.
Planning thoroughly can make the difference between a smooth, enjoyable flight and one filled with stress, uncertainty—or worse, danger. In this blog, we’ll break down the essential steps of cross-country planning so you can fly smarter, safer, and with confidence.
1. Define the Purpose and Distance
Not all cross-countries are created equal. For a student pilot working toward a private certificate, the FAA defines a cross-country as a flight that includes a landing at a point more than 50 nautical miles from the original departure airport. But beyond the regulation, ask yourself:
- Am I training, building hours, or flying for recreation?
- How far do I want to go?
- Am I prepared for changing airspace, terrain, and weather?
Your objective shapes every planning decision—from route selection to alternate airports.
2. Choose a Logical Route
Once your destination is decided, plot a route that makes sense. You can use digital apps like ForeFlight or Garmin Pilot, but even with technology, you should understand how to choose:
- Visible landmarks: Highways, rivers, towers, and airports make great visual waypoints.
- Avoiding restricted areas: Check for MOAs, restricted zones, and TFRs.
- Airspace considerations: Flying near Class B or C airspace? Plan how to transition or avoid it.
Also, build in backup airports along your route in case of a diversion due to weather or other issues.
3. Weather: The Deciding Factor

Weather planning starts the day before and continues right up until takeoff.
Check:
- METARs and TAFs for conditions at departure, enroute, and destination airports
- Winds aloft to calculate ground speed and fuel usage
- Radar and satellite imagery for big-picture awareness
- AIRMETs and SIGMETs for turbulence, icing, or convective activity
Most importantly, know your personal weather minimums. If the forecast looks questionable, delay or cancel the flight. Better safe on the ground than sorry in the air.
4. Fuel and Time Calculations

Running out of fuel is still one of the leading causes of general aviation accidents. Avoid becoming a statistic:
- Check aircraft performance charts and POH
- Calculate time and fuel burn for each leg, using actual winds aloft
- Always plan to land with at least 1 hour of fuel remaining, even though FAA only requires 30–45 minutes
Fuel management should be reviewed at every leg and adjusted enroute if necessary.
5. File and Fly with a Plan
Even if you’re flying VFR, filing a flight plan offers extra safety. It gives search and rescue teams a starting point if something goes wrong. You can also request VFR flight following from ATC for traffic advisories and added situational awareness.
Have a Nav Log or flight log ready with:
- Waypoints and checkpoints
- Frequencies for each sector
- Time estimates
- Notes on terrain, hazards, and alternates
Apps make this easier, but having a paper or backup version is still wise.
Become a member of MyStudentPilot.com for premium content that includes:
- Access 50 Flight Training Scholarship Opportunities
- Funding Strategies to Finance Your Pilot Training
- Access to Airline Cadet Training Programs
- World Wide Pilot Job Openings
- Airline Pilot Fast Track "Roadmap" Course
- How to Get your Private Pilot in 4 Months Saving 30% Course
- Exclusive Pilot Training and Career Advice blog by CFI, Dan Burley
- Exclusive Blogs that Focus on "How to Fund your Flight Training"
All for just $19/month - cancel anytime
6. Prepare for What If
Cross-country flying introduces more risk—changing conditions, unfamiliar airports, and more complex airspace. That’s why you need to think ahead:
- What if I lose radio contact?
- What if I encounter unexpected IMC?
- Where can I land if an engine failure occurs?
Visualizing and mentally rehearsing these situations improves your reaction time and confidence.
7. Organize Your Cockpit

Keep your cockpit neat and your tools within reach:
- Sectional charts or EFBs
- Kneeboard or tablet mount
- Backup power source
- Airport diagrams for departure, enroute, and destination
- Checklist and aircraft documents
A cluttered cockpit adds stress—especially during an unexpected situation.
Summary
Cross-country flights are more than just a box to check on your training record—they are real-world exercises in planning, navigation, and aeronautical decision-making. When done right, they’re deeply rewarding and build confidence that no simulator can provide.
Remember: Smart planning equals safer flying. The more time you invest in preparing on the ground, the more confident and capable you'll be in the air.


